REVIEW · KATHMANDU
Everest Base Camp Trek Via Gokyo Lake and Cho La Pass
Book on Viator →Operated by Marvel Treks and Expedition · Bookable on Viator
Cho La Pass makes this Everest trek different. You get the classic Everest arc, then swap busy trails for Gokyo Lakes and a tough glacier crossing over Cho La Pass.
I love how the route mixes big-mountain moments with quieter, high-altitude lake time. You also get solid logistical help: a licensed English-speaking guide, a porter (with a 1:2 ratio), meals, and teahouse beds so you can focus on acclimatizing and walking.
One consideration: early-morning starts and cold, thin-air days add up, and some comfort stuff like hot showers and charging is not included. If you’re not comfortable with the physical grind and the weather’s mood swings, you’ll feel it.
In This Review
- Key points before you set your boots on
- Flying into Nepal’s Everest trail system, then settling in Kathmandu
- Namche Bazaar: Everest’s first tease, plus Sherpa culture on your route
- Tengboche to Dingboche: monasteries, pine forests, and the altitude shift
- Lobuche to Gorak Shep: the glacier walk toward Everest Base Camp
- Kala Patthar sunrise and the Lobuche to Dzongla transition
- Cho La Pass to Gokyo: the icy crossing that changes the whole mood
- Coming back to Namche via Machhermo, Dole, and Khumjung
- Final trekking day along the Dudh Koshi to Lukla, then back to Kathmandu
- Price and value: where your $1,000 is doing work
- Teahouses, meals, and the small comfort choices that add up
- Guides, safety, and what “support” should mean on a trek like this
- Who should pick this trek, and who should think twice
- Should you book Everest Base Camp via Gokyo Lake and Cho La Pass?
- FAQ
- How long is the Everest Base Camp trek via Gokyo and Cho La Pass?
- What’s included in the trip price?
- What is not included?
- What are the main highlights on the route?
- Do I need permits to do this trek?
- Is travel insurance required?
- Is this a private group experience?
Key points before you set your boots on
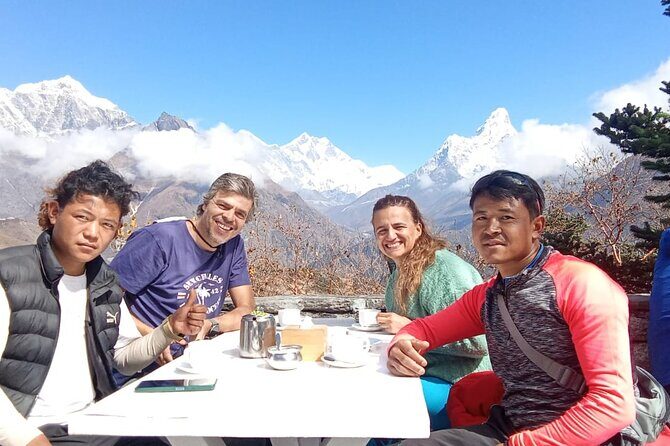
- Cho La Pass early start: an icy crossing that’s both scenic and physically demanding
- Gokyo Lakes days: calmer views plus a morning climb with big panorama angles
- Kala Patthar sunrise: a high-drama payoff for the effort getting there
- Teahouse rhythm: included meals and twin-sharing stays help you keep moving
- Sherpa culture stops: Namche, museums, and monasteries break up the walking grind
Flying into Nepal’s Everest trail system, then settling in Kathmandu
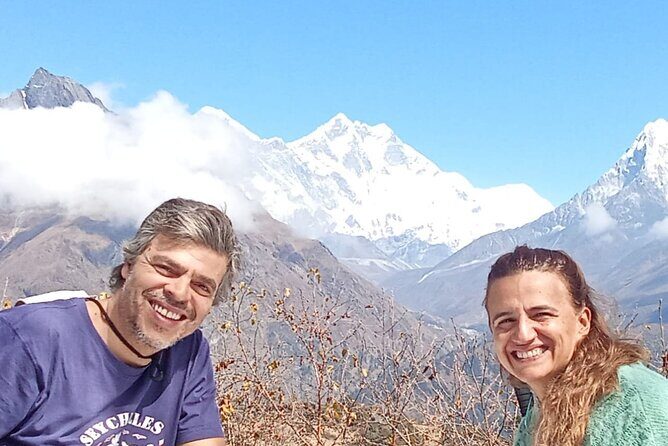
Most people think the trek starts when you hit the trail. For this one, it starts earlier—with Kathmandu pickup on Day 1 and a gear check with your guide. You’ll also get a feel for how your trip will run: what to carry, what your porter handles, and how the pace is set.
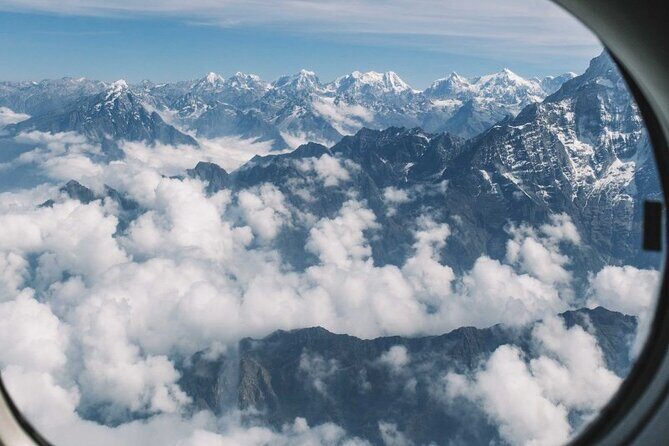
On Day 2, you do the scenic flight to Lukla. That flight matters more than it sounds. It saves you days of approach walking, but it also means you need flexibility and good nerves around weather. Once you land, the trek begins through Sherpa villages toward Phakding, setting the tone: everyday life first, mountains second.
You’ll sleep your first night in Kathmandu (breakfast included). That night is a real advantage before a mountain schedule. It’s not just comfort; it’s energy management.
You can also read our reviews of more hiking tours in Kathmandu
Namche Bazaar: Everest’s first tease, plus Sherpa culture on your route
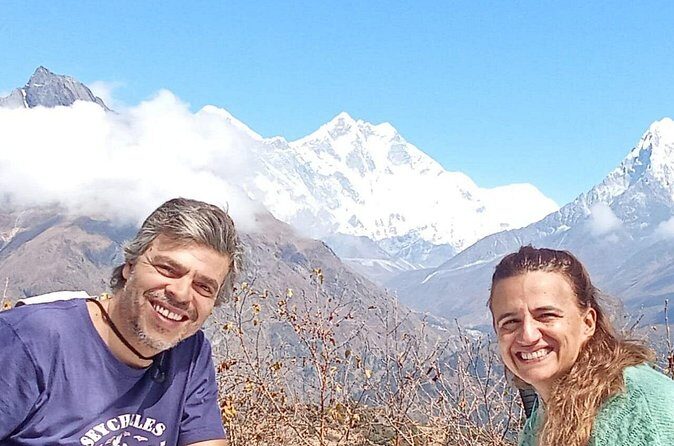
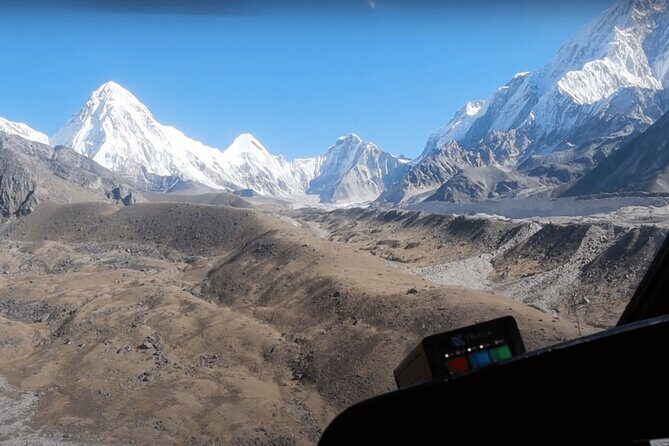
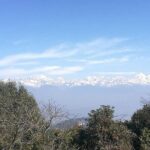
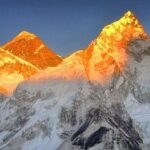
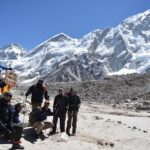
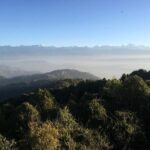
Day 3 and Day 4 are where the trek sharpens. You cross suspension bridges, enter Sagarmatha National Park, and get your first real glimpse of Everest. Even if the view isn’t the final wow shot yet, it changes your mindset. The mountain stops being a concept and starts being a destination.
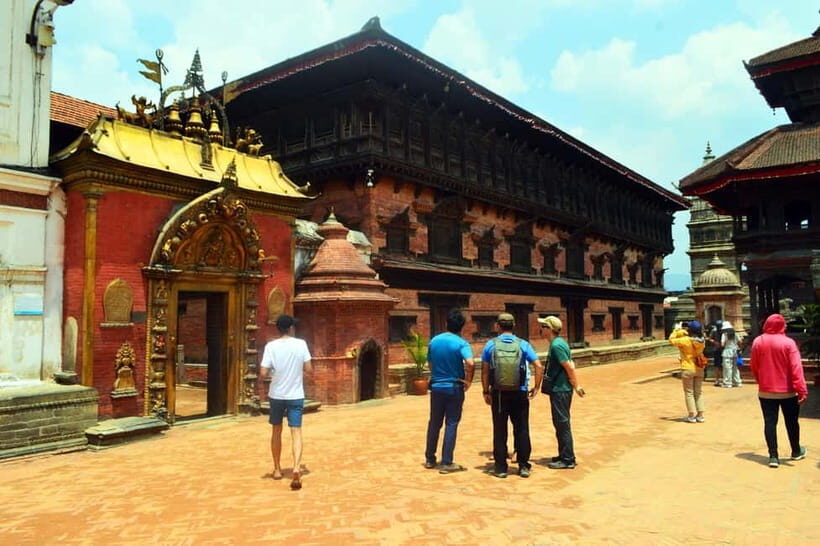
Namche Bazaar also gives you a culture break that isn’t forced. You’ll explore the local market and a Sherpa museum, which helps you understand why this region has such deep mountain knowledge and community life. When you later see monasteries and memorials, those scenes feel less random.
Day 4 includes an optional hike to Everest View Hotel at 3,880m. Optional is smart here. If you’re feeling good, you get higher views and a nice warm-up step. If you’re not, you can still enjoy Namche without pushing your body.
Practical note: in this part of the trek, you’ll likely start noticing how quickly small decisions matter—water intake, pace, and rest. That’s not weakness. It’s how high-altitude walking works.
Tengboche to Dingboche: monasteries, pine forests, and the altitude shift
Day 5 takes you toward Tengboche. Expect a walk through pine forest with views of Thamserku and Everest. That combination matters: greenery and scenery give your brain a breather after the longer high-street feel of Namche.
You also visit Tengboche Monastery. This is one of those stops that makes the mountains feel human. Monasteries in this region aren’t tourist decorations; they’re part of how people live with big, demanding weather and landscape.
Day 6 moves you toward Dingboche, with a crossing of the Imja Khola and a pass by Pangboche. The itinerary hints at a key shift: you begin to feel altitude more clearly around here. That usually means slower steps, more rest stops, and a need for consistency. You’re not just trekking uphill; you’re managing breath.
I like that this route doesn’t pretend altitude is optional. The schedule builds in the reality of it, instead of rushing straight to the hardest stages.
Lobuche to Gorak Shep: the glacier walk toward Everest Base Camp
Day 7 to Day 8 is where the trek turns serious. Day 7 moves you to Lobuche through alpine terrain, and the itinerary includes memorials of climbers. Those stops hit harder when you’re already tired. They remind you that this isn’t just scenery—people have staked real effort and real risk here.
Day 8 takes you to Gorak Shep, then along the Khumbu Glacier toward Everest Base Camp. The timing matters: you follow the glacier route, take photos at Base Camp, and then return to Gorak Shep. That structure is useful because you get the goal moment without a vague, open-ended schedule.
Photos are part of it, sure. But what I’d watch for is your energy after you reach Base Camp. On this kind of trek, the hardest part can be what comes next—turning around, staying steady, and not overexerting on the way back.
Kala Patthar sunrise and the Lobuche to Dzongla transition
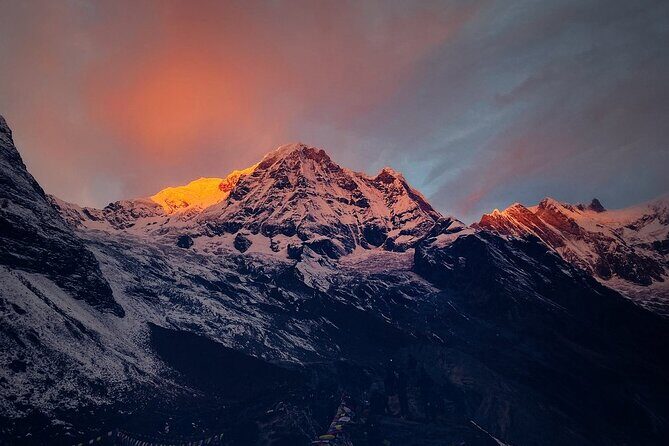
Day 9 starts with a sunrise view of Everest from Kala Patthar, then you head down toward Lobuche and onward to Dzongla. This is the classic high-drama combo: cold start, big effort, and a payoff that looks like it took your whole body to earn.
Why this stage matters for your experience: sunrise moments are memorable, but they also teach you pacing. If you sprint the early part, the return can feel punishing. If you pace well, you’ll be able to enjoy the view and still keep your legs working for the trek down.
Then you shift gears. Day 9 is not just about sunrise; it’s about transition—moving from the Everest Base Camp zone toward the next big storyline.
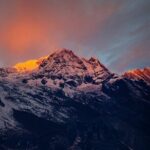
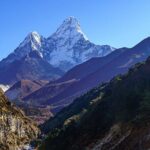
Cho La Pass to Gokyo: the icy crossing that changes the whole mood
Day 10 is the route’s signature challenge. You cross the Cho La Pass early morning, described as icy, then descend into the Gokyo Valley to reach Gokyo.
That early crossing is the point of the whole itinerary. You’re trading the Everest route’s steady rhythm for a sharper test: weather can be harsher, footing can feel more demanding, and the cold can make every breath feel louder.
The good news is that the payoff is immediate in spirit. After the pass, you’re heading into a quieter valley. That contrast is what makes people remember this trek as more than an Everest checklist.
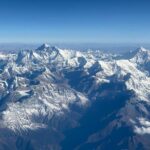
Day 11 adds a morning climb for panoramic views of Everest, Cho Oyu, and Makalu, plus a visit to the 3rd and 4th Gokyo Lakes. If you want your trip to feel balanced—one day big mountain theatre, the next day calm high-altitude lake time—this is where you get it.
One tip: on lake days, take your time. The walking won’t always feel as hard as the pass, so it’s tempting to rush. Don’t. This is your best window to slow down and let the altitude settle into a manageable routine.
Coming back to Namche via Machhermo, Dole, and Khumjung
Day 12 is a descent and a reset. You pass through Machhermo, Dole, and Khumjung, then reach Namche for rest. The itinerary specifically notes hot shower and recovery in Namche, which is a big deal after cold nights and hard mornings.
This day matters because your body needs a psychological win as much as a physical one. Descents can still be rough, but getting back to familiar town energy helps you feel like you’re closing the loop.
Day 12 also gives you continuity with your earlier Namche experience. You’re not just moving forward; you’re retracing steps with different eyes. The markets and buildings feel different once you’ve lived above them for days.
Final trekking day along the Dudh Koshi to Lukla, then back to Kathmandu
Day 13 finishes the trek with a walk along the Dudh Koshi River to Lukla. That river detail matters because it often means a steadier trail feel compared with glacier-heavy sections. It’s a “keep it going” day that lets your legs wind down.
On Day 14 you fly back to Kathmandu in the early morning. You’ll have free time for rest, shopping, or even an optional massage. That’s a smart buffer. After this trek, you don’t just want to stop; you want to reset your body and your sleep schedule before you do anything else.
Price and value: where your $1,000 is doing work
At $1,000 per person, the real question isn’t just cost. It’s what you’re buying, and how much it reduces decision stress.
From what’s included, you’re getting:
- Round-trip domestic flights (Kathmandu–Lukla–Kathmandu)
- Kathmandu hotel night with breakfast
- All meals during the trek
- 12 nights in twin-sharing teahouses
- Licensed English-speaking guide plus porter support (1:2 ratio)
- Sagarmatha National Park and TIMS permits
- Airport transfers and a trekking gear duffel bag
- Government taxes and trekking service charges
- Safety support mentioned in the trip overview, including emergency oxygen
What that means for you: you’re not micromanaging permits, meal stops, lodging choices, or day-to-day logistics. For a trek with both Everest and Cho La, that planning load is the difference between a trip that feels tough and a trip that feels chaotic.
Also, the “not included” list is worth noticing:
- International airfare and Nepal visa fee
- Travel insurance (mandatory)
- Personal trekking gear
- Tips for guide and porter (optional but expected)
- Hot showers, Wi‑Fi, and battery charging at teahouses
- Extra nights if flights shift
If you budget for those early, the trip cost feels much less like a surprise. And with a porter carrying your heavier pack via the duffel system, you can travel lighter, which saves energy.
Teahouses, meals, and the small comfort choices that add up
This is a teahouse trek with twin-sharing accommodation for 12 nights. Meals are included each day while you’re on the trail, which is a big help at altitude when decision fatigue is real.
You’ll also see where you might want to spend extra money: hot showers, Wi‑Fi, and battery charging aren’t included. Those comforts are nice, but they’re not the point of the journey. The point is steady daily progress and a warm meal when you arrive.
In the bigger picture, teahouses also change how you experience community. You’re not in a private lodge bubble. You’re in the same rhythm as other trekkers—sharing dining rooms, warm air, and the occasional comparison of how cold everyone’s fingers are.
Guides, safety, and what “support” should mean on a trek like this
Support on this kind of route is not just friendliness. It’s pacing, route management, and staying calm when weather shifts.
This itinerary includes an experienced, licensed English-speaking guide and porter support, plus emergency oxygen mentioned in the overview. That safety net matters most on days like the Cho La Pass crossing, where early timing and conditions can tighten the margin.
In past Everest trekking experiences with this operator, guides have been praised for being reassuring when people feel off, and for helping with heavier backpack issues by swapping loads when needed. Names like Shisir and Udio show up in real-world experiences as examples of the kind of human support that can keep your morale steady when your body protests.
A simple way to work with your team: tell your guide early if you’re struggling with altitude or energy. The earlier you communicate, the easier it is to adjust your pace and reduce risk.
Who should pick this trek, and who should think twice
This route is ideal if you want:
- Classic Everest highlights (Namche views, Base Camp, Kala Patthar sunrise)
- A switch to quieter high-altitude lake scenery at Gokyo
- A real challenge moment with the Cho La Pass glacier crossing
- A guided plan that handles permits, meals, and day-to-day logistics
It also fits you best if you have moderate physical fitness and you can handle long days with cold mornings. You don’t need to be a mountaineer, but you do need stamina and patience.
Think twice if you’re looking for a relaxed, low-stress walk. This itinerary includes tough timing (early starts), long walking days, and altitude pressure. If you’re expecting a comfort-first vacation, you’ll end up fighting the trek instead of enjoying it.
Should you book Everest Base Camp via Gokyo Lake and Cho La Pass?
I’d book it if you want a one-of-a-kind route that avoids the feeling of doing the same Everest trek twice. The mix of Everest’s iconic moments with Gokyo Lakes and the hard crossing of Cho La Pass is a strong reason on its own.
I would not book it if you dislike cold starts, high-altitude effort, or days where weather can affect how things feel. For this trek, comfort is something you earn with good pacing.
If you do book, I’d plan your budget for the “not included” items early (gear, insurance, tips, and small comforts). Then show up ready to walk consistently and listen to your guide. Do that, and this trek can turn into one of the most satisfying multi-day mountain trips you’ll ever plan.
FAQ
How long is the Everest Base Camp trek via Gokyo and Cho La Pass?
The duration is approximately 14 days, including flights and trekking days.
What’s included in the trip price?
Round-trip domestic flights between Kathmandu and Lukla, 1 night hotel in Kathmandu with breakfast, all meals during the trek, twin-sharing teahouse accommodation for 12 nights, a licensed English-speaking guide and porter (1:2 ratio), Sagarmatha National Park and TIMS permits, airport transfers, and a duffel bag for trekking gear.
What is not included?
International airfare, the Nepal visa fee on arrival, lunch and dinner in Kathmandu, personal trekking gear, travel insurance, tips for guide and porter, extra hotel nights due to flight delays or early return, and personal expenses like hot showers, Wi‑Fi, and battery charging.
What are the main highlights on the route?
Key highlights include first Everest views in Namche Bazaar, the Tengboche Monastery visit, Everest Base Camp via the Khumbu Glacier, sunrise at Kala Patthar, the Cho La Pass crossing, panoramic views from a morning climb, and visiting the 3rd and 4th Gokyo Lakes.
Do I need permits to do this trek?
Yes. The trip includes Sagarmatha National Park permits and TIMS permits.
Is travel insurance required?
Yes. Travel insurance is listed as mandatory.
Is this a private group experience?
Yes. It’s described as private, with only your group participating.