REVIEW · KATHMANDU
Everest Base Camp Trekking
Book on Viator →Operated by Green Valley Nepal Treks & Research Hub Pvt Ltd · Bookable on Viator
The mountains do the talking here. This Everest Base Camp trek stands out because you travel with a guide who helps you trek safely and keeps the route clear, so you spend more energy on breathing and views.
I love that the plan is built for real pacing and personal attention—small group size (max 10) plus acclimatization stops—so you’re not stuck managing logistics on your own. One possible drawback: this is an altitude trek that asks for a strong fitness baseline, and the weather can still change plans since the trek runs in all conditions.
Green Valley Nepal Treks and Research Hub Pvt Ltd is also set up for an easy start from Kathmandu, including airport meet-up and transfers, and it rolls teahouse lodging and meals into the trek days. If you’re the type who wants the Big Journey feeling without a spreadsheet, this one fits well.
In This Review
- Key takeaways before you go
- From Kathmandu to Lukla: the fast start that sets the tone
- Price and what’s included in the $1,350 trek package
- Your guide and porters: why small-group support changes everything
- Namche Bazaar acclimatization: a rest day that still moves
- The Everest corridor: pine forests, monasteries, passes, and monasteries again
- Day-by-day: what each day feels like on the ground
- Kala Patthar sunrise: the timing-based Everest moment
- Teahouse accommodation and meals: included comfort you’ll actually feel
- Fitness, altitude, and weather: the only part you truly control
- Who this trip fits best (and who might rethink it)
- Should you book Everest Base Camp with this operator?
- FAQ
- How long is the Everest Base Camp trek?
- Where does the trek start?
- What’s included in the trek cost?
- How big is the group?
- Do I need a passport for this trip?
- Does the trek operate in bad weather?
Key takeaways before you go
- Max 10 group size means more time with your guide and less “herding” on the trail
- Lukla flights plus guided pacing remove the hardest logistics from day one
- Namche acclimatization with a short viewpoint hike helps you adjust before pushing higher
- Kala Patthar sunrise is a prime moment built into the route timing
- Thangma Riju panoramic stop gives wide mountain views even when Everest isn’t directly visible
From Kathmandu to Lukla: the fast start that sets the tone
Most people feel Everest Base Camp in two stages: first, the jump from lowland Nepal to the Everest region, then the slow climb day after day. This trip starts by meeting you at Tribhuvan International Airport and arranging a drop to your hotel by private tourist vehicle. That matters more than it sounds, because after a long flight you want your bearings handled quickly.
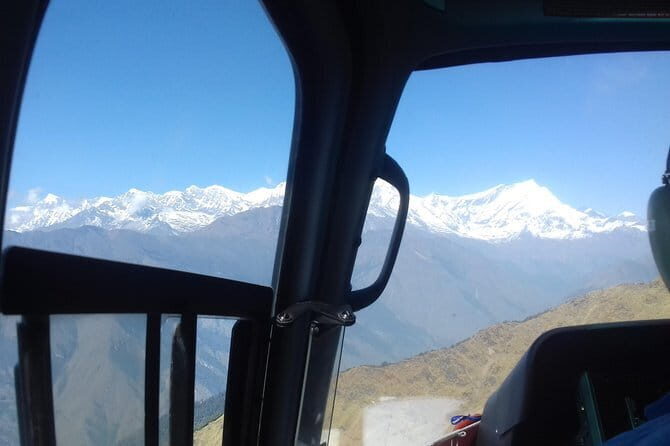
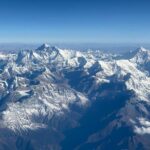
Day two moves you into the real show. After breakfast, you drive to the domestic terminal and fly to Lukla (Tenzing-Hillary Airport). The schedule is built around early timing, so you can catch striking sunrise views over snowcapped peaks right from the aircraft window. It’s also where you feel the difference between a generic trek and a focused EBC plan: you’re not just hiking later, you’re stepping into the region right away.
Practical tip: on flight days, keep your layering simple but ready. The plane ride and early walking can swing from cool to surprisingly chilly fast.
You can also read our reviews of more hiking tours in Kathmandu
Price and what’s included in the $1,350 trek package
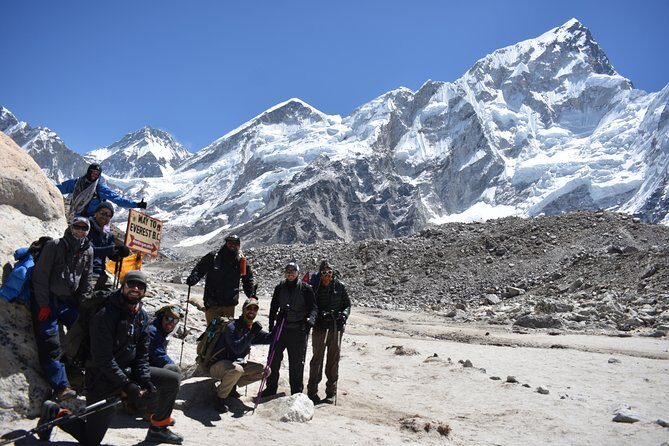
At $1,350 per person for a ~14-day trek, you’re paying for a “managed experience,” not just a walking route. The value is strongest because teahouse accommodation, meals, and local transportation are included in the trek portion, and the overall schedule is handled end to end.
Here’s what that typically means for your planning brain:
- You don’t need to coordinate day-by-day lodging or figure out what to eat at each stop.
- You’re not hunting for local transport between segments of the trip.
- You’re paying for a guide who’s responsible for the route, pacing, and keeping you from getting lost.
Two add-ons also help the experience feel smooth: pickup is offered, and you’ll get a mobile ticket, which can reduce last-minute stress. Group discounts are mentioned too, which is useful if you’re booking with friends or you’re trying to keep costs down while still traveling in a small group.
Balance check: $1,350 is not a “cheap” trekking price. But for Everest Base Camp, what you’re really buying is risk reduction in logistics (and route clarity), plus the small-group attention. If you’re already highly experienced and want to self-organize, you might find cheaper ways. If you want the guided version with included basics, this price lands in a reasonable zone for what it handles.
Your guide and porters: why small-group support changes everything
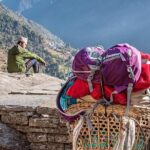
The most consistently praised element from past experiences is the human team—especially guides and porters who show up as calm, capable helpers rather than just “someone on the hike.”
In the information you provided, names come up often:
- Biru is highlighted as an excellent guide and a source of safety and helpful guidance.
- Amabar is described as a strong guide who, along with porter Kanchar, helped trekkers feel safe and supported through the cold and challenge of the climb.
- Ramesh appears as a sherpa guide for solo trekking situations, with an emphasis on companionship and looking after you.
- Owners Arjun and Raj are noted for responsiveness before and during the trip for logistical coordination.
Even if you don’t know which guide you’ll get, this matters: a capable guide doesn’t just translate trail directions into steps. They help you pace for altitude, decide when to pause, and keep the day readable when conditions shift. And porters add a real comfort layer—when the route gets steep or the weather turns, having support can make the difference between “tiring but fine” and “wrecked.”
What to expect day to day: your guide will keep you on-route, support acclimatization, and focus you on enjoying the views instead of constantly recalculating where you are.
Namche Bazaar acclimatization: a rest day that still moves
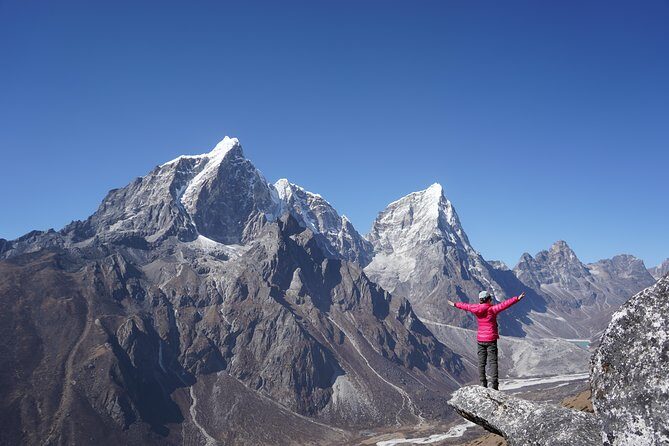
Day four includes a rest day in Namche Bazaar, and it’s not a dead stop. Namche is the biggest settlement in the Khumbu region and it’s well set up—ATMs, internet cafes, restaurants, and bakeries are specifically called out. That means you can handle small needs and feel less cut off from the rest of the world.
But the key part is the short hike to a nearby viewpoint (listed as a rest-day hike). This is the pattern you want for altitude:
- stop long enough to recover,
- then move enough to help your body adjust.
This is where small-group trekking also shines. You’re not stuck rushing to keep up with strangers who have no acclimatization plan. You’ll follow your guide’s pacing while still getting that “we’re in it now” feeling.
The Everest corridor: pine forests, monasteries, passes, and monasteries again
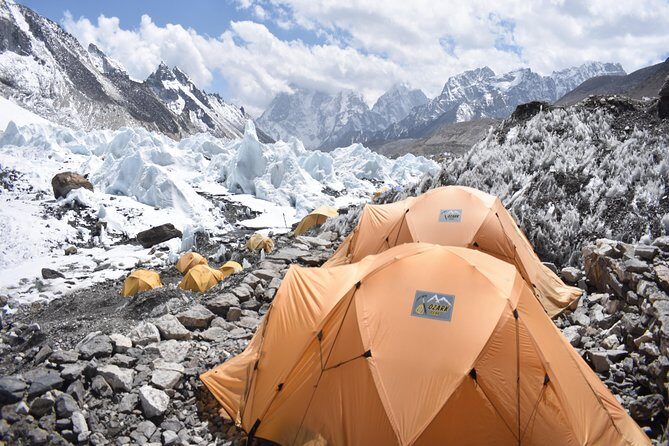
What I like about this route is that it’s not only about the final peak. You pass through a chain of distinct environments, and each one gives you something different: forests, river valleys, villages, and religious landmarks.
Here are a few stops that define the character of the trek:
Day 3: Sagarmatha National Park entrance
The route starts early and passes through pine forests and the Dudh Koshi River, with views of Thamserku along the way. There’s a check post and an entrance into Sagarmatha National Park. That’s useful context: you’re not only chasing Everest vibes; you’re trekking within a protected high-altitude region.
Day 5: Mugla Pass area and mountain glimpses
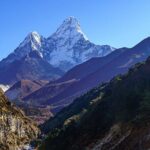
After Namche, the trek heads to Phorse, passing through the Mugla Pass area where you get glimpses of Ama Dablam, Khumbu, and Thamserku. Then you descend toward the Dudh Koshi and cross it. You’ll feel the rhythm shift—climb, crest, descend, cross, repeat. This is where good pacing matters most.
Day 6: Dingboche and a major Buddhist monastery stop
Phorse to Dingboche includes a visit to a biggest Buddhist monastery in the region. You also move through alpine forests and villages like upper Pangboche. This is a nice reminder that the Everest region is lived-in, not staged for tourists.
Day 7: Duglha to higher ground with Yak herders and history
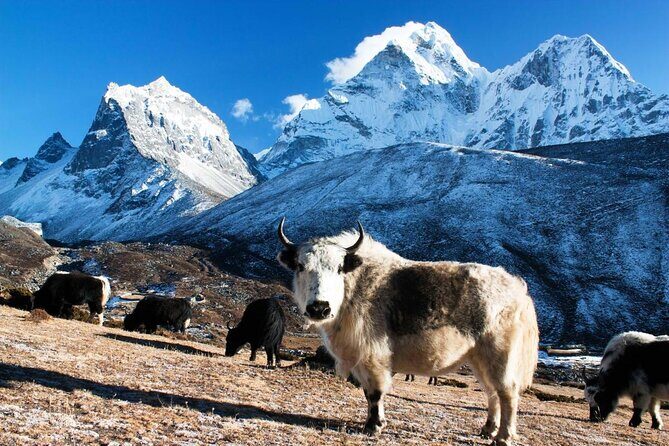
The climb begins from Duglha through Khumbu Khola valley. You’ll see Dusa, a yak herders place, and Phulong Karp, which is identified as the camp of the first successful Everest Expedition in 1953. That’s a powerful historical waypoint, especially when you’re already feeling the altitude grind.
Day 8: Chupki Lhara slopes, boulders, and prayer flags
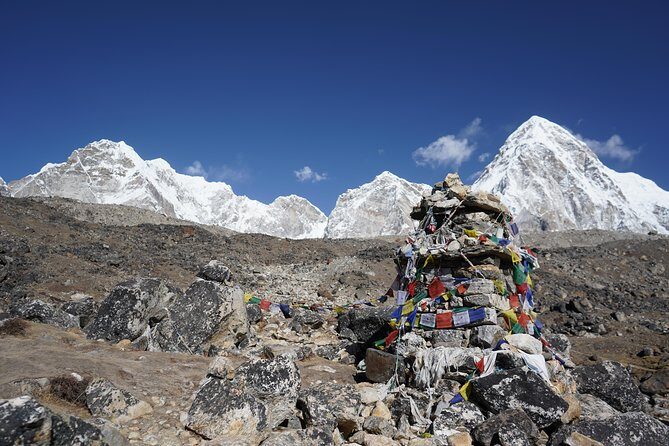
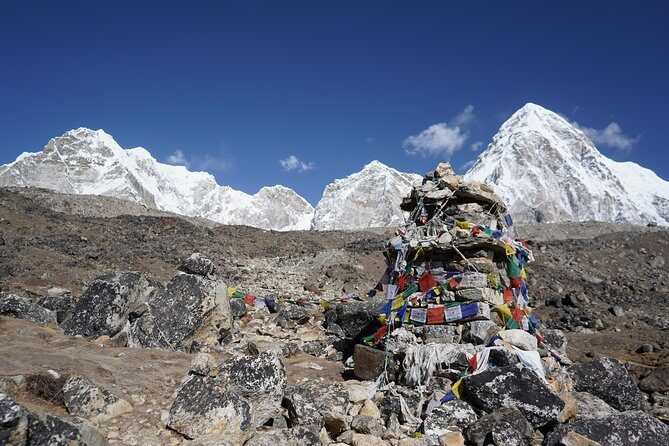
The trek after the steep terminal moraine of the Khumbu glacier heads toward Chupki Lhara, where you’ll find slopes with boulders and prayer-flag stone markers. These details matter on the trail because they break the monotony and keep navigation clear.
Day 9: Thangma Riju 360-degree panoramas (with a surprise)
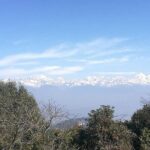
This is listed as an important day. At Thangma Riju you get a 360-degree panoramic view of snowcapped mountains. The note here is important: Mount Everest is not seen directly from this point. That helps you set expectations. Some days give “wide and epic,” not “Everest straight ahead.”

Day-by-day: what each day feels like on the ground
Here’s how the full run generally plays out, based on the schedule you provided—what to expect, and what to watch for.
Day 1: Arrival in Kathmandu and hotel drop
You land and meet an airport representative at Tribhuwan International Airport. A private tourist vehicle takes you to the hotel. Day one is about resting and getting organized, with a chance to meet the team at their office if you want details.
Day 2: Morning flight to Lukla
After breakfast you fly to Lukla, with early sunrise views described as outstanding. This day often sets your energy level for the trek, because you’ll be excited, not sleeping much, and your body adapts to the new altitude soon after.
Day 3: Lukla to park entrance country
The route passes pine forests and the Dudh Koshi River, with views of Thamserku. You’ll reach a check post and enter Sagarmatha National Park. It’s a good day for steady effort: fewer extremes, more nature and route rhythm.
Day 4: Namche Bazaar acclimatization + viewpoint hike
You rest in Namche, but you’ll also do a short hike to a nearby viewpoint. It’s the classic acclimatization approach—rest + movement. Namche’s amenities also give you emotional relief: you can get small comforts without leaving the trek corridor.
Day 5: Namche to Phorse via higher pass area
You trek to Phorse, reaching Mugla Pass and getting mountain glimpses. You descend and cross Dudh Koshi. Expect legs to feel it here as you transition from village-to-village walking into more intense elevation work.
Day 6: Phorse to Dingboche with monastery and village scenes
You visit a Buddhist monastery, then continue through alpine forests to upper Pangboche and onward to Dingboche area villages. This day feels “cultural and scenic” as much as physically demanding.
Day 7: Duglha area start, yak herders, and Chola lake
Climbing begins from Duglha through Khumbu Khola valley, with sightings like Dusa yak herders and Phulong Karp (1953 expedition camp). Chola lake is also noted. This is one of those days where you’ll understand why planning matters: you need the right pacing to enjoy the views without overcooking yourself.
Day 8: Terminal moraine and the Chupki Lhara climb
The day includes ascent toward Chupki Lhara after walking up the steep terminal moraine of the Khumbu glacier. You’ll find boulder slopes and prayer-flag stone markers. This can feel rough on footing—watch where you place your feet.
Day 9: Thangma Riju panoramas and the wide-mountain day
From Thangma Riju you get 360-degree panoramas. Even though Everest isn’t seen directly here, it’s still a major “wow” moment because you’re surrounded by high peaks.
Day 10: Early trek timing for Everest-light and Kala Patthar sunrise
The day starts much early so you can witness the glimpse of Mount Everest when dusk turns to bright morning. The route includes Kala Patthar sunrise view (listed as a short 30-minute stop). This is a best-in-class photo window, and even if clouds happen, the early start gives you the best chance.
Day 11: Descent through villages and back to Dingboche-side areas
Descent continues back via the Jame route to terminal moraine at Duglha, passing Pheriche and Orsho, plus Shomare. You reach Pangboche village and can explore the old village area. Think of this day as “workout recovery with scenery,” not a day to sprint.
Day 12: Steep downward trail and the Dudh Koshi suspension bridge
This is described as a steep downward trail where you need to walk slowly and in control on rocky terrain until you reach a suspension bridge over Dudh Koshi. Downhill is often harder than uphill on the knees—so slow footwork is the smart move.
Day 13: Mountain flight back to Kathmandu and time to reset
You enjoy a mountain flight from Lukla to Kathmandu again, then have time for shopping and strolling around the city. It’s a good day for buying trekking souvenirs while your gear is still fresh in your mind.
Day 14: Final Kathmandu sightseeing and departure
Your last day includes shopping and pleasant sightseeing around Kathmandu Valley before leaving for Tribhuvan International Airport.
Kala Patthar sunrise: the timing-based Everest moment
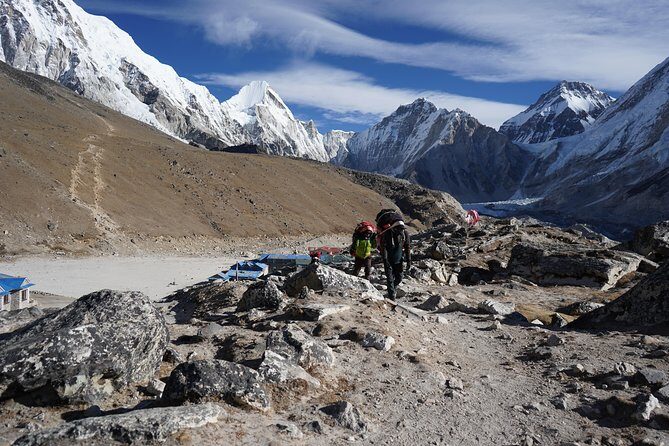
Kala Patthar is the standout named viewpoint in the schedule, with a sunrise focus and a short stop window. The plan’s logic is simple: you start early to catch the moment when light hits the mountains and you can see Everest’s peak more clearly.
Two practical points help you get value from this part:
- Go to the sunrise stop with realistic expectations. Even the route notes that Everest isn’t seen from Thangma Riju, so visibility can vary by day.
- Bring gear for cold early mornings. You’ll be outside before the sun warms things up, and altitude makes the cold bite.
This is also where the guided format helps. You don’t have to figure out the best time to move or where to stand; you follow the plan designed for that “light show” window.
Teahouse accommodation and meals: included comfort you’ll actually feel
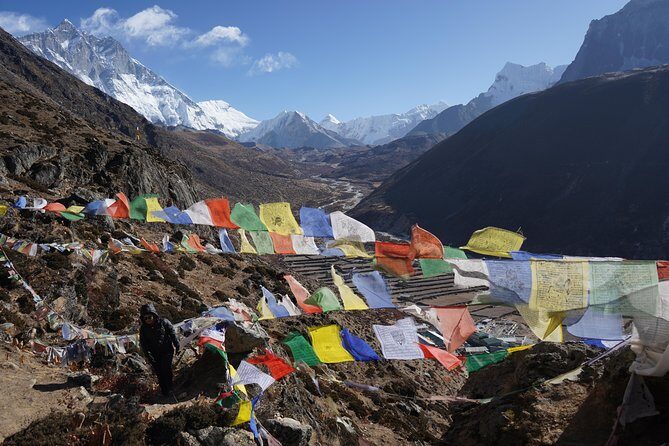
The experience includes teahouse accommodation and meals, plus local transportation. That sounds basic, but it matters because Everest Base Camp trekking is hard enough without managing every practical detail.
What you can reasonably expect from a teahouse setup on this kind of route is simple:
- small rooms for rest,
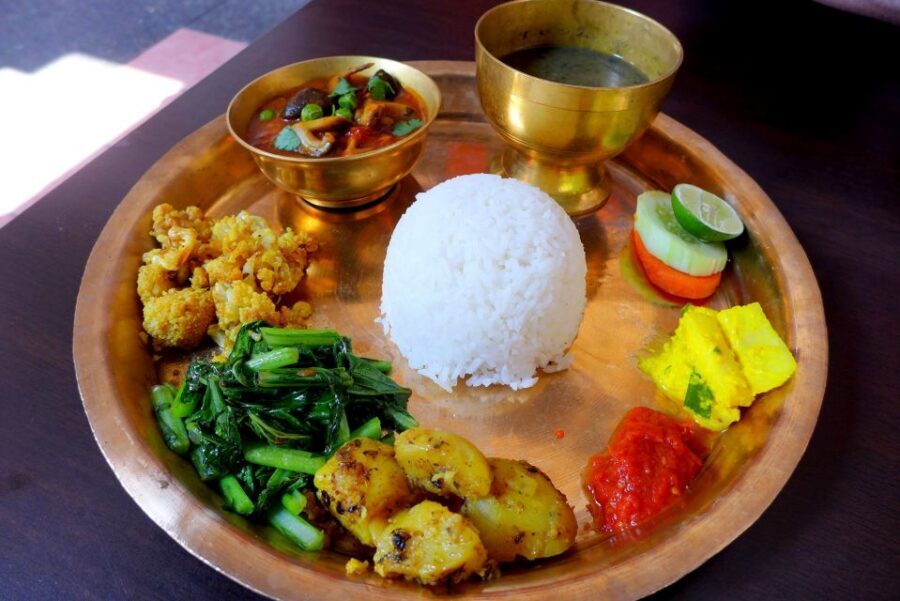
- a shared dining area for meals,
- and a routine that repeats day after day.
Even if the comfort level varies by location, having lodging and food handled means your energy goes toward walking, acclimatization, and sleep. And on days like the Namche rest day, food and downtime can support recovery instead of adding new planning tasks.
Fitness, altitude, and weather: the only part you truly control
This trek operates in all weather conditions, and it explicitly asks you to dress appropriately. That doesn’t mean you’ll never get delays; it means you should expect cold, wind, and changing conditions. Also, the info says this is best suited to active and moderately fit travelers with strong physical fitness.
Here’s how I’d interpret the “moderately fit” label for an EBC trek:
- You need endurance for multi-day walking.
- You need steady pacing more than speed.
- You need to be okay going slower than you want, especially as altitude rises.
One more consideration: the route includes flights to and from Lukla. Those can be affected by weather in the region, and since this trek runs in all weather conditions, you should be prepared for schedule changes without panicking.
Who this trip fits best (and who might rethink it)
This works especially well if:
- you want a guided small-group experience (max 10),
- you’d rather focus on views and culture than route planning,
- and you appreciate acclimatization pacing and safety support.
It might be less ideal if:
- you have zero interest in guides and group walking,
- or you’re unwilling to commit to physical effort and early starts,
- or you prefer full self-guided flexibility.
The route also offers cultural contact through monastery visits and the lived-in villages along the climb—so it’s not only about peak-watching.
Should you book Everest Base Camp with this operator?
If your goal is Everest Base Camp with less stress, more structure, and the comfort of included teahouse meals and lodging, I think this is a strong pick. The standout reasons are the small group size (personal attention) and the emphasis on trekking safely with a guide—exactly the kind of support that makes a big altitude trek feel manageable.
Book it if you want to:
- reduce logistics headaches,
- follow a paced acclimatization plan,
- and chase sunrise moments like Kala Patthar with the timing built in.
One final gut-check: be honest about fitness and cold tolerance. This trek is scenic and rewarding, but it’s still a serious high-altitude walk. If you match that effort with smart pacing, it’s the kind of trip that stays with you long after the photos fade.
FAQ
How long is the Everest Base Camp trek?
The duration is about 14 days.
Where does the trek start?
It starts at Tribhuvan International Airport (Ring Rd, Kathmandu).
What’s included in the trek cost?
Teahouse accommodation, meals, and local transportation are included, along with guided small-group support. A pickup is also offered, and you get a mobile ticket.
How big is the group?
The trek has a maximum of 10 travelers.
Do I need a passport for this trip?
Yes. A current valid passport is required, and your passport details are needed at booking.
Does the trek operate in bad weather?
It operates in all weather conditions, so you should dress appropriately.