REVIEW · KATHMANDU
From Kathmandu: Guided Everest Base Camp Trek
Book on GetYourGuide →Operated by Info Nepal Tours and Treks · Bookable on GetYourGuide
Everest starts with a short flight. This guided Everest Base Camp trek keeps the plan simple and puts you where the views and Sherpa culture hit hardest: the Namche Bazaar acclimatization day and the sunrise push toward Kala Patthar. The trade-off is altitude and a demanding schedule, with steep climbs and rocky stretches that ask you to pace smart.
I also like how the trip is run like a real small-group hike, not a chaotic convoy. Rajesh handles coordination quickly (including WhatsApp questions), and English-speaking guides such as Saran or Prayas are on hand to manage pace, communication, and the day-to-day details you don’t want to figure out on your own.
The logistics feel covered in the practical way: Sagarmatha National Park permit is included, a first-aid kit is included, and you get welcome and farewell coffee. Price is $408 per person, but read the fine print on meals and drinks because food is included only with the full-board option, and visa fee and travel insurance are not included.
In This Review
- Quick hits before you go
- Why Everest Base Camp works best as a guided 12-day trek
- Lukla and Phakding: easing in after the flight into the Khumbu
- Namche Bazaar at 3,440m: the acclimatization day that changes everything
- Tengboche (Tyangboche) monastery: panoramic views with Buddhist prayer rituals
- Dingboche and Lobuche: rest-day strategy plus higher air
- Gorak Shep, Everest Base Camp, and Kala Patthar at sunrise
- Sagarmatha National Park: what the UNESCO route really means
- Sherpa culture: more than a stop for photos
- How the return days keep you safe and moving
- Price and value: is $408 a fair deal for 12 days?
- Who this trek suits (and who should reconsider)
- Practical tips to make this trek feel better day by day
- Should you book this Everest Base Camp trek?
- FAQ
- How long is the Everest Base Camp trek?
- Where does the trip start and end?
- Is the Lukla flight included in the price?
- What is the highest elevation on this route?
- Is an English-speaking guide provided?
- Are Sagarmatha National Park permits included?
- What meals are included during the trek?
- Do I need a Nepal visa and travel insurance?
- Is free cancellation available?
Quick hits before you go
- Namche Bazaar acclimatization helps you adjust before higher days
- Tengboche monastery time brings big views plus Buddhist prayer rituals
- Dingboche rest day gives your body a chance to catch up
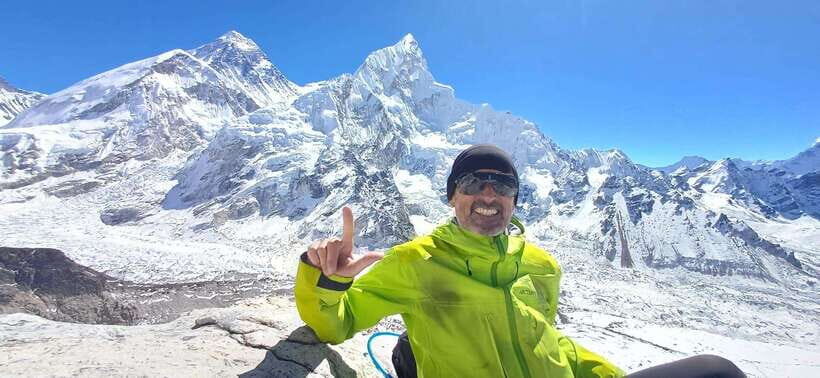
- Kala Patthar sunrise hike is your close-up Everest moment at 5,545m
- English-speaking guidance from guides such as Saran or Prayas keeps things clear
- Sagarmatha National Park permit included for this UNESCO-listed route
Why Everest Base Camp works best as a guided 12-day trek
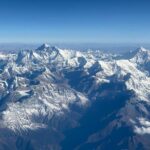
Everest Base Camp is famous for a reason. You’ll spend days moving through Khumbu villages, high suspension bridges, and glacier scenery that looks unreal from a distance—and even more dramatic up close at the end.
A good guide matters here because the trek is more than “walk forward.” You’ll be adjusting to altitude, navigating changing trail conditions, and keeping a steady pace that lets you enjoy the route instead of just surviving it. This itinerary builds that in with acclimatization and rest time.
The best part for many people is that you get a plan you can trust. The route is laid out from Lukla to Phakding, up to Namche, over to Tengboche, then higher to Dingboche and Lobuche before you reach Gorak Shep and the Everest Base Camp area. That structure is especially helpful if you’re coming solo or you don’t want to manage reservations and timing yourself.
You can also read our reviews of more guided tours in Kathmandu
Lukla and Phakding: easing in after the flight into the Khumbu
Your trek officially starts with flying from Kathmandu to Lukla, then hiking to Phakding (2,610m). The first day is your warm-up: you’re not going straight up a mountain in the first hours, and you get your legs back under you after travel.
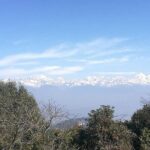
Phakding is a classic entry point because it gives you a gentle introduction to the trekking rhythm—walk, stop, breathe, then walk again. You’ll also get early views that remind you what you’re aiming for. If you’re the type who gets nervous about altitude, day one is a good confidence-builder because it’s less about strain and more about finding a steady pace.
A practical consideration: even early on, the trail can feel slow-going because you’re at altitude and the terrain can be rocky. Treat day one like it’s about control, not speed.
Namche Bazaar at 3,440m: the acclimatization day that changes everything
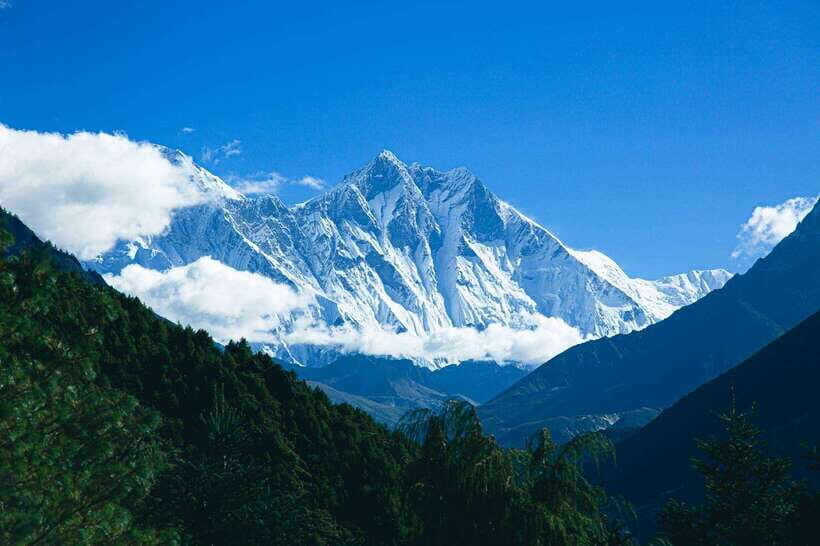
Day two climbs you from Phakding to Namche Bazaar (3,440m), and day three is built for acclimatization. Namche is the gateway town of the Everest region—busy, full of shops, and a place where you can get your bearings fast.
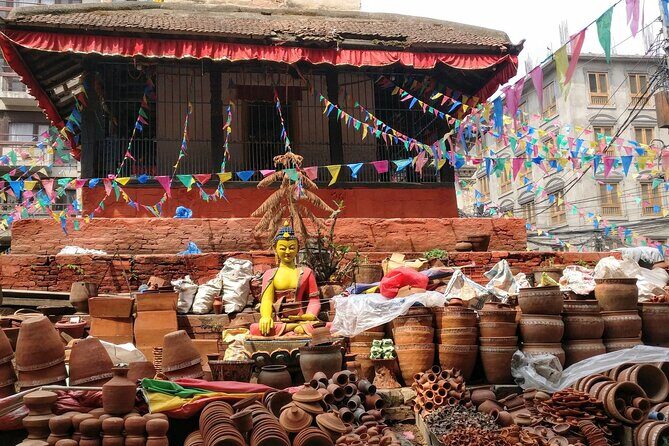
What I like about this portion of the route is the balance between “settle in” and “go higher.” You’ll have time to adjust before the next big lift in elevation, which matters a lot once your body starts reacting to thinner air. Namche is also where you can interact with Sherpa life more directly, including crafts and local details that make this trek more than just scenery.
If you’re worried about communication or first-time trekking questions, this is where a guide earns their keep. You’ll be moving with a small group and an English-speaking guide, so you’re not stuck trying to interpret every sign or making every decision alone.
Tengboche (Tyangboche) monastery: panoramic views with Buddhist prayer rituals
Next you hike to Tengboche (around 3,867m, listed as Tyangboche/Tengboche). This is one of the emotional stops on the whole trek because it blends scenery with spirit.
Tengboche is known for its monastery setting and for the daily rituals you can witness during your visit. The day-to-day rhythm—prayer ceremonies and monastery life—adds meaning to the long climbs. And from that elevation, the Everest-range views can feel framed and close at the same time.
The route here is also where trekking becomes more physical. Expect uphill and downhill days with suspension bridges and rocky sections. This is where you’ll feel the altitude even if your legs are strong, so the “take it slow” advice is not optional.
Dingboche and Lobuche: rest-day strategy plus higher air
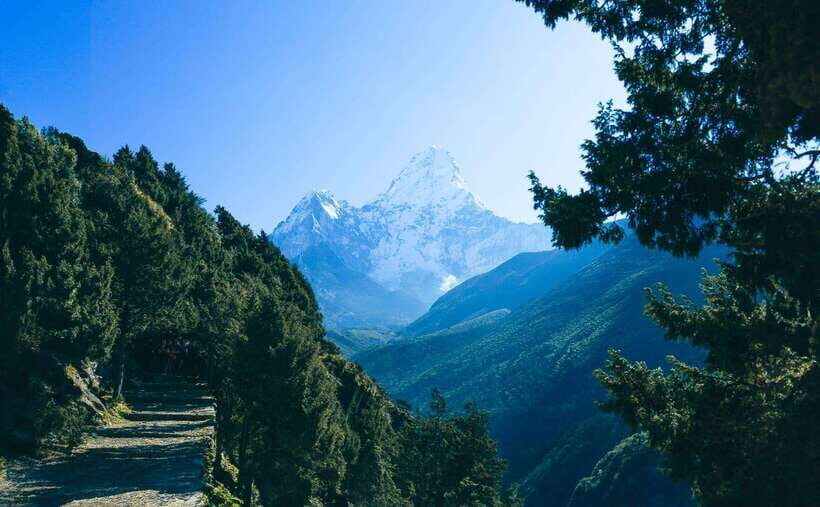
Day five takes you to Dingboche (4,400m), and day six is another rest day. That rest day is not wasted time. At 4,400m, you’re already high enough that your breathing and recovery matter, and a pause helps your body adapt before the push toward Lobuche (4,900m).
Dingboche is a great place to practice smart trekking habits: hydrate, move gently, and avoid the temptation to overdo it just because you feel good for an hour. This is also a good moment to check in with your guide about how you’re feeling. Having an English-speaking guide reduces stress when you need to communicate symptoms or energy levels.
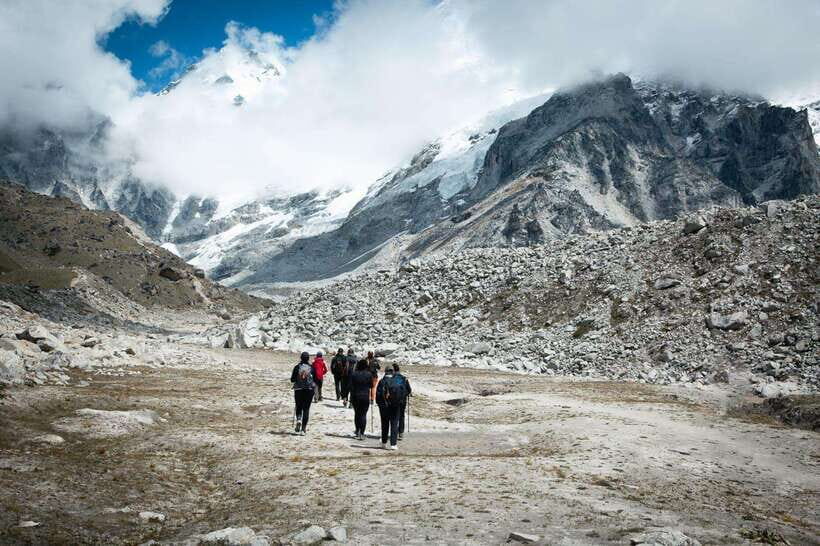
Then comes Lobuche, a step higher and a clear signal that you’re entering the final approach zone. The scenery becomes harsher, and the trail can demand more focus. Expect a mix of rocky trails and gradual climbs that test your steady pacing.
A consideration: higher altitude days don’t forgive rushing. If you treat each day like it’s a race, you’ll arrive tired, not triumphant.
You can also read our reviews of more hiking tours in Kathmandu
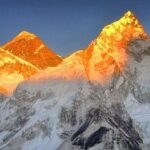
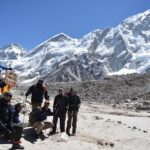
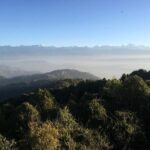
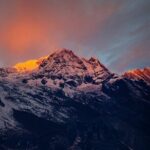
Gorak Shep, Everest Base Camp, and Kala Patthar at sunrise
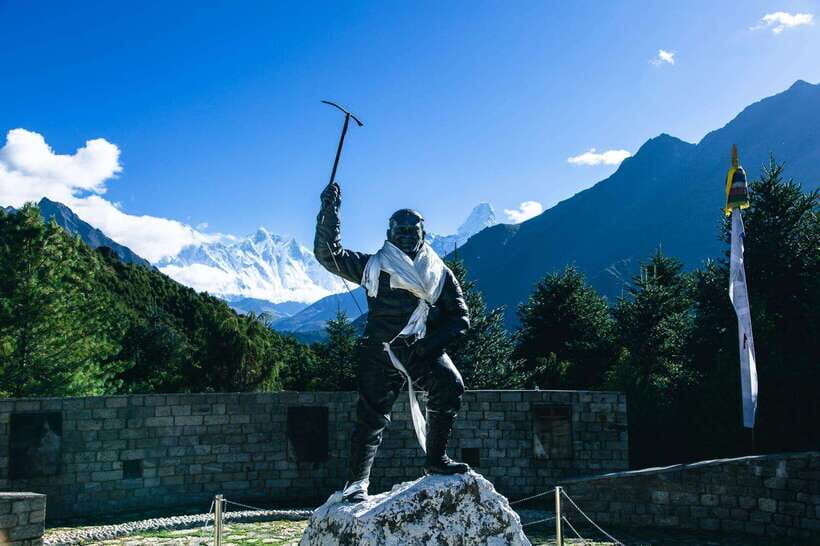
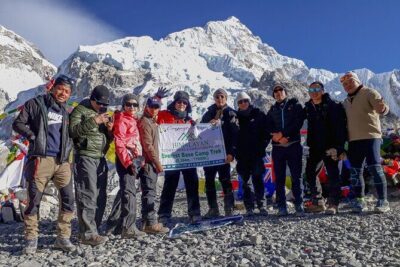
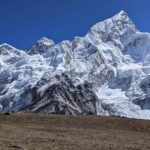
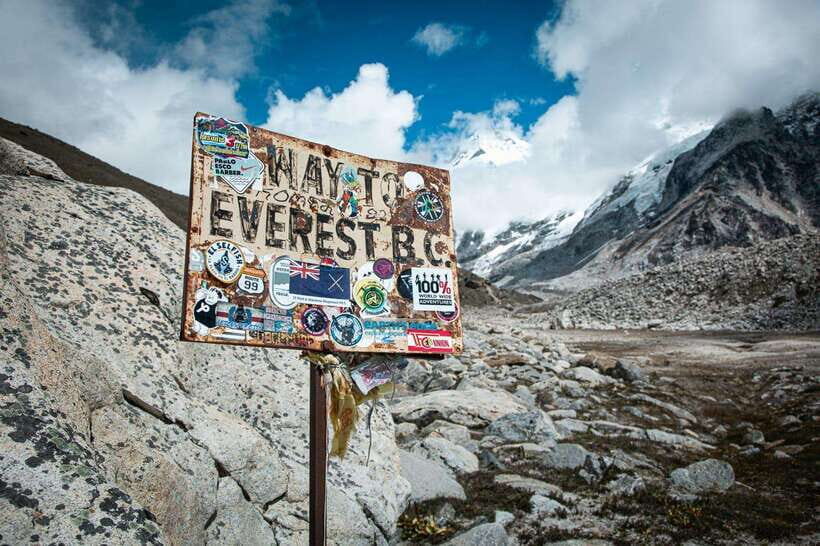
Day eight brings you to Gorak Shep (5,150m) and then toward Everest Base Camp (about 5,365–5,365m listed). This is your payoff day, and it’s not subtle. You’re in the high-elevation zone where glacier scenery and the Khumbu Icefall area dominate the horizon.
Base Camp itself is a special kind of awe. Even if you’ve seen Everest photos, standing there makes the scale feel real. You also start understanding why this trek exists for so many people: it’s the moment where the climb turns into a story you can actually tell.
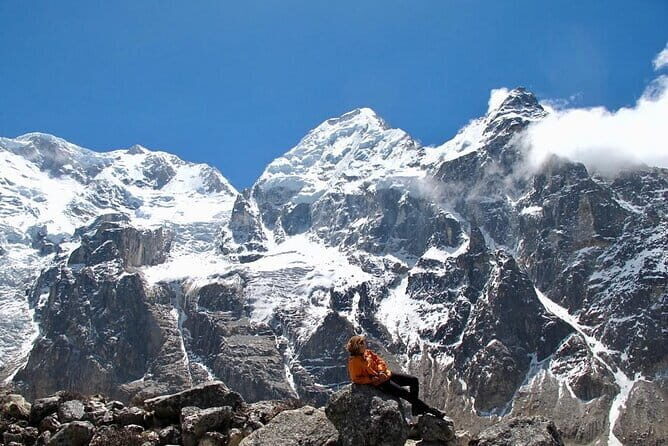
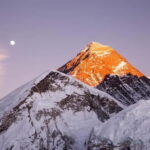
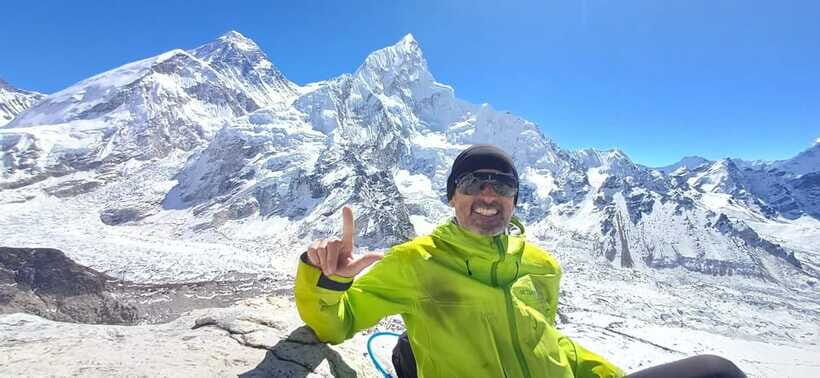
Then day nine is Kala Patthar (5,545m) in the morning, followed by trekking down to Pheriche (around 4,200m). Kala Patthar is famous because it can offer close-up views of Everest and the surrounding peaks, especially when the light is right. This is the hardest part of the itinerary for many people, but it’s also the day that feels most earned.
Practical note: sunrise hikes at 5,000m+ can feel brutally cold and physically demanding. Going with a guide means you’re more likely to keep a consistent pace and avoid the common mistake of going too fast early.
Sagarmatha National Park: what the UNESCO route really means
Your trek runs through Sagarmatha National Park, a UNESCO World Heritage site, and the permit is included. That matters because it signals you’re trekking in a protected area with a managed route.
What I like is that the park angle isn’t just paperwork. The region’s wildlife habitat is part of the experience, and the trek passes through zones where you might find Himalayan creatures such as snow leopards, musk deer, and Himalayan tahrs—depending on season and luck. Even if you don’t spot wildlife, the park setting helps you understand the environment you’re walking through.
A guide also helps with the “why” behind what you’re doing. When you know you’re in a protected zone, it’s easier to stay respectful with trail behavior and stay focused on your own safety and pace.
Sherpa culture: more than a stop for photos
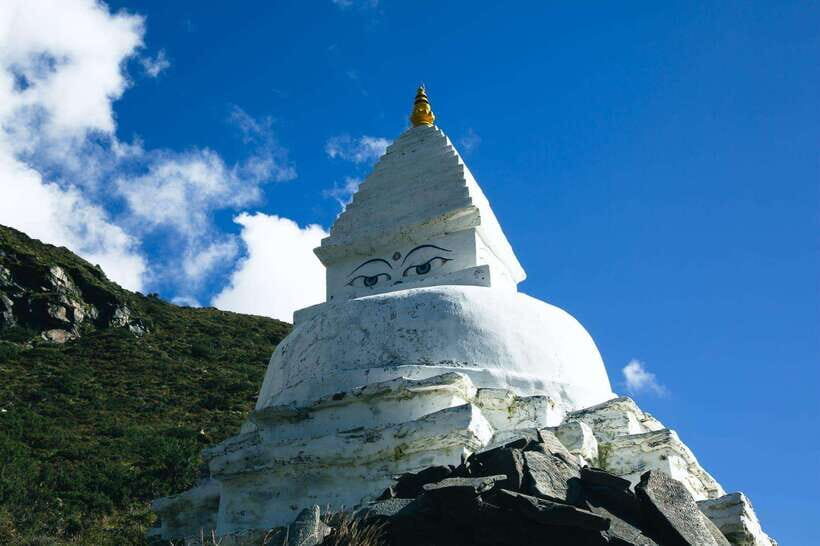
The itinerary includes time in places where Sherpa culture is front and center. You’ll pass through Namche Bazaar, visit Tengboche’s monastery, and spend time around villages where everyday life connects directly to mountaineering heritage.
One highlight noted is learning about Sherpa culture through dress and a visit to a museum. That kind of cultural stop can help you read the region differently. Instead of treating people as part of the scenery, you start seeing how communities live alongside some of the most challenging mountains in the world.
This also matters for solo travelers. In the feedback shared about these treks, solo participants felt more comfortable because the guide handled communication and pacing, and because the day-by-day structure reduced social friction. If you’re someone who likes people but also values clear guidance, this style fits well.
How the return days keep you safe and moving
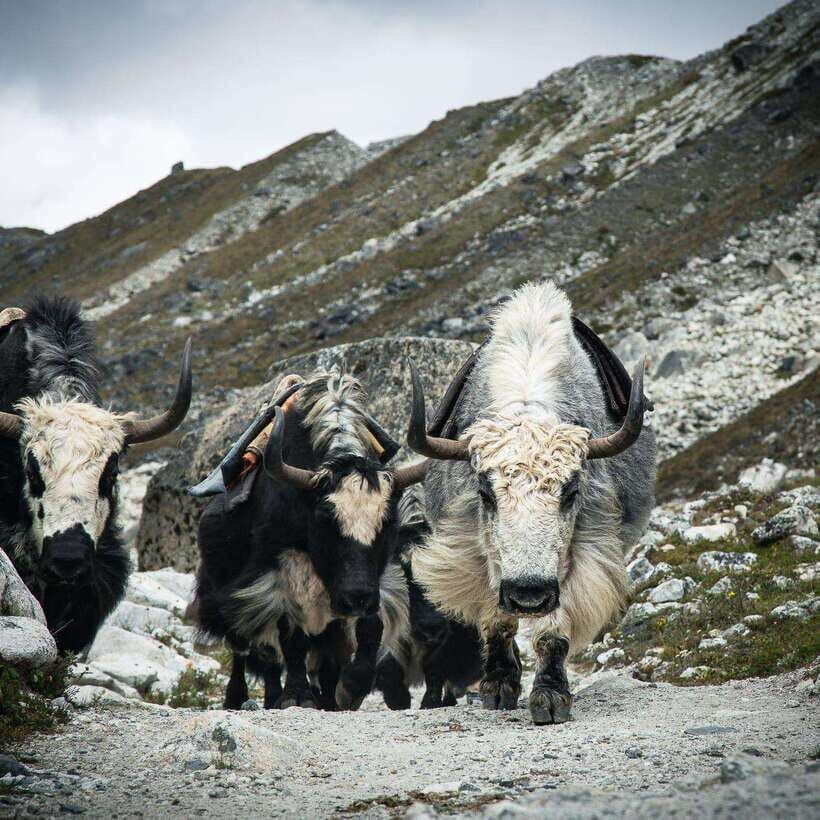
Day ten hikes back down to Namche Bazaar, and day eleven goes to Lukla. Then day twelve brings you back to Kathmandu.
This downhill segment is where you’ll feel your body differently. Descents can be tough on knees and feet even when the elevation is lower. You may feel tempted to speed up during the “easy-looking” parts, but your guide’s job is to keep you moving safely and steadily.
The structure—up, rest, and then a controlled return—helps you finish with less drama. You’re not just blasting downhill and hoping it’s fine.
Price and value: is $408 a fair deal for 12 days?
At $408 per person for 12 days, the value comes from what’s already handled. Included costs cover a local English guide, accommodation during the trek, a Sagarmatha National Park permit, a trekking map, and a first-aid kit. You also get a welcome and farewell coffee, plus hotel pickup and drop-off.
A big factor: domestic flights from Kathmandu to Lukla (roundtrip) are included only if you select that option. For many trekkers, those flights are one of the biggest fixed costs and also one of the reasons guided itineraries can feel simpler. If you’re comparing options, make sure you’re comparing the same flight assumptions.
Meals and drinks are another key detail. Food and drinks are included only with the full board option. If you’re not choosing full board, budget for meals you’ll need to buy along the way.
Two costs you should plan for upfront: Nepal visa fee and travel insurance are not included. Insurance is not a luxury idea here. Altitude trekking can turn plans into medical questions fast, and having coverage can protect your finances when you’re far from big hospitals.
Overall, $408 feels most reasonable if you want a guided route with permits and core logistics covered, and if you’re comfortable doing a real trek with mountain-style accommodations—not a comfort-focused holiday.
Who this trek suits (and who should reconsider)
This Everest Base Camp trek is a strong match if you want:
- A guided route on a well-known path
- An English-speaking guide to help with daily pacing and communication
- A plan that includes acclimatization days (Namche and Dingboche) rather than rushing upward
It’s also well-suited if you’re traveling solo and want a small group structure. The feedback around guides like Saran and Prayas highlights that supportive help—sharing photos, checking in on health, and managing the practical stuff—can make a huge difference at altitude.
You might reconsider if:
- You’re not ready for a physically demanding trek with steep climbs and rocky terrain
- You dislike early starts and cold high-altitude mornings
- You don’t plan for altitude risk and require a relaxed, low-stress itinerary
Practical tips to make this trek feel better day by day
Altitude is your main opponent. You can be fit and still get hit by thin air, so let the itinerary do its job. Take the acclimatization days seriously, and don’t treat rest days as free time to over-schedule.
Trust your guide on pacing. A good guide keeps you moving at a speed your body can handle, and the reported guides on these trips have focused on exactly that—helping with heavy packs when needed and watching how people feel, especially when energy drops.
Bring smart trekking basics even if the tour gives essentials like a first-aid kit. Think layers, gloves/headwear for cold mornings, and trekking poles if you use them. The trek includes high points like Kala Patthar at 5,545m, so cold and exertion combine.
Finally, make time for photos and short breaks. Everest country moves fast in your memory, and you’ll want more than just a handful of summit shots. In past experiences, guides have helped capture lots of moments, including videos, which can be worth more than you expect once you’re back home.
Should you book this Everest Base Camp trek?
If you want a structured, guided Everest Base Camp experience that’s built around acclimatization, I think this is a solid choice. The plan covers the big essentials—guide, park permit, trek map, and core mountain logistics—with English support and a small-group feel.
Before you book, confirm two things: whether you’re selecting the roundtrip Lukla flights option, and whether you’re choosing full board meals and drinks. Then plan for the costs that aren’t included—visa fee and travel insurance—so you’re not scrambling later.
If you’re physically prepared for 12 days of real hiking, and you respect altitude, you’ll likely find the trek’s last stretch—Gorak Shep, Everest Base Camp, and the Kala Patthar sunrise—worth every uphill step.
FAQ
How long is the Everest Base Camp trek?
The trek duration is 12 days.
Where does the trip start and end?
The trip starts in Kathmandu and ends back in Kathmandu. It includes domestic flights from Kathmandu to Lukla and back (if you select that option), plus trekking between the mountain villages.
Is the Lukla flight included in the price?
Roundtrip domestic flights from Kathmandu to Lukla are included only if you select that option.
What is the highest elevation on this route?
Kala Patthar is listed at 5,545 meters.
Is an English-speaking guide provided?
Yes. The tour includes a live tour guide who speaks English.
Are Sagarmatha National Park permits included?
Yes. The Sagarmatha National Park permit is included.
What meals are included during the trek?
Accommodation is included during the trek, and food and drinks are included if you choose the full board option.
Do I need a Nepal visa and travel insurance?
The Nepal visa fee is not included, and travel insurance is not included.
Is free cancellation available?
Yes. Free cancellation is available up to 24 hours in advance for a full refund.